




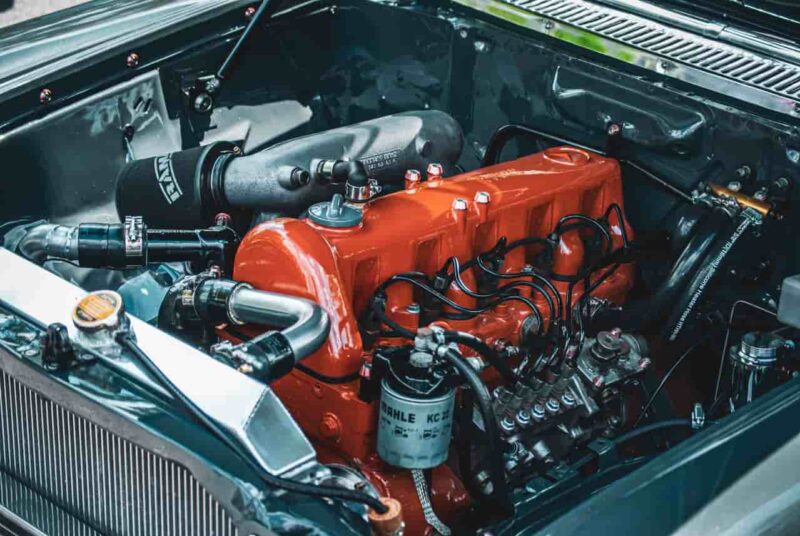
Spark plugs play an essential role in gasoline engines. They create the electrical spark needed to ignite the air-fuel mixture inside the engine cylinders. Over time, spark plugs become worn, dirty, or damaged, which can lead to poor fuel economy, difficult starting, rough idling, and engine misfires.
Learning how to change car spark plugs can save money on routine maintenance and help keep your engine running smoothly. The process is relatively straightforward on many vehicles, although access to the spark plugs varies between engines.
Before starting, always check your vehicle owner’s manual for the correct spark plug type, replacement interval, torque specification, and any engine-specific instructions.
Tools and Supplies You Need
Before changing your spark plugs, gather the necessary tools and replacement parts. You will typically need:
- Correct replacement spark plugs
- Spark plug socket
- Ratchet
- Socket extension
- Torque wrench
- Spark plug gap gauge, if required
- Compressed air or a soft brush
- Dielectric grease, if recommended
- Gloves and safety glasses
Make sure the replacement spark plugs match the specifications recommended by your vehicle manufacturer. Using the wrong plug can cause poor engine performance or other problems.
Step 1: Let the Engine Cool
Always work on a cool engine. Spark plugs are installed in the cylinder head, which can become extremely hot during operation. Allow the vehicle to cool completely before beginning the job.
Park the car on a level surface, engage the parking brake, and switch off the ignition. Keep the keys away from the vehicle while you work.
Step 2: Locate the Spark Plugs
Open the hood and locate the engine’s ignition components. Depending on the vehicle, you may see individual ignition coils or spark plug wires connected to the top of the engine.
Some engines have covers or other components that need to be removed before you can access the spark plugs. If you’re unsure where the spark plugs are located, consult the owner’s manual or a reliable repair manual for your vehicle.
Step 3: Remove the Ignition Coil or Spark Plug Wire
If your vehicle uses individual ignition coils, disconnect the electrical connector and carefully remove the coil from the spark plug.
For vehicles with traditional spark plug wires, remove the wire by gripping the boot rather than pulling directly on the wire itself.
It’s a good idea to replace the plugs one at a time. This helps prevent accidentally mixing up ignition wires or connectors.
Also Read: Crankshaft vs Camshaft – Guide
Step 4: Clean Around the Spark Plug
Before removing the old spark plug, clean the area around it. Dirt, dust, and debris can fall into the cylinder when the spark plug is removed.
Use compressed air or a soft brush to remove loose debris. Never skip this step, especially if the engine area is dirty.
Step 5: Remove the Old Spark Plug
Attach the correct spark plug socket and extension to your ratchet. Carefully place the socket over the spark plug and turn it counterclockwise.
Once the spark plug is loose, remove it carefully.
Inspect the old spark plug for signs of wear. Excessive carbon deposits, oil contamination, damaged electrodes, or unusual discoloration may indicate problems beyond normal spark plug wear.
Step 6: Check the New Spark Plug
Compare the new spark plug with the old one to make sure they have the correct design and dimensions.
Check the spark plug gap if the manufacturer specifies one. Some modern spark plugs are pre-gapped, but you should still verify the gap against the vehicle manufacturer’s specifications.
Do not force or bend the electrode unnecessarily, as this can damage the plug.
Step 7: Install the New Spark Plug
Carefully place the new spark plug into the spark plug socket. Start threading it into the cylinder head by hand.
This is an important step because cross-threading the spark plug can damage the cylinder head. Never force the plug with a ratchet when starting the threads.
Once the spark plug is hand-tight, use a torque wrench to tighten it to the manufacturer’s specified torque.
Avoid simply guessing how tight the spark plug should be. Over-tightening can damage the plug or cylinder head, while insufficient tightening can cause sealing and performance problems.
Step 8: Reinstall the Ignition Coil or Wire
After installing the new spark plug, reinstall the ignition coil or spark plug wire.
If your vehicle uses ignition coils, reconnect the electrical connector securely. For spark plug wires, make sure the boot is fully seated on the spark plug.
Repeat the same process for the remaining spark plugs.
Step 9: Start the Engine
After all spark plugs have been replaced, check that every coil, wire, and electrical connector is properly installed.
Start the engine and let it idle. Listen for unusual noises and check whether the engine runs smoothly.
If the engine runs roughly, misfires, or the check engine light comes on, switch it off and inspect your work. A loose connector, incorrectly installed plug, damaged ignition component, or incorrect spark plug can cause problems.
Common Mistakes to Avoid
When replacing spark plugs, avoid using the wrong plug type or ignoring the manufacturer’s torque specifications. Never install a spark plug into a dirty plug well, and don’t force a plug if it does not thread smoothly.
It’s also best to replace all the spark plugs according to the recommended maintenance schedule rather than replacing only one without a specific reason.
Final Thoughts
Knowing how to change car spark plugs is a useful maintenance skill that can help keep your engine performing efficiently. The basic process involves allowing the engine to cool, removing the ignition components, taking out the old plugs, checking the new plugs, installing them to the correct specifications, and testing the engine.
However, spark plug access and installation procedures differ between vehicles. Always follow your owner’s manual and use the correct parts and torque specifications. If the plugs are difficult to access or you’re uncomfortable performing the work, having a qualified mechanic complete the job can help prevent expensive damage.
