




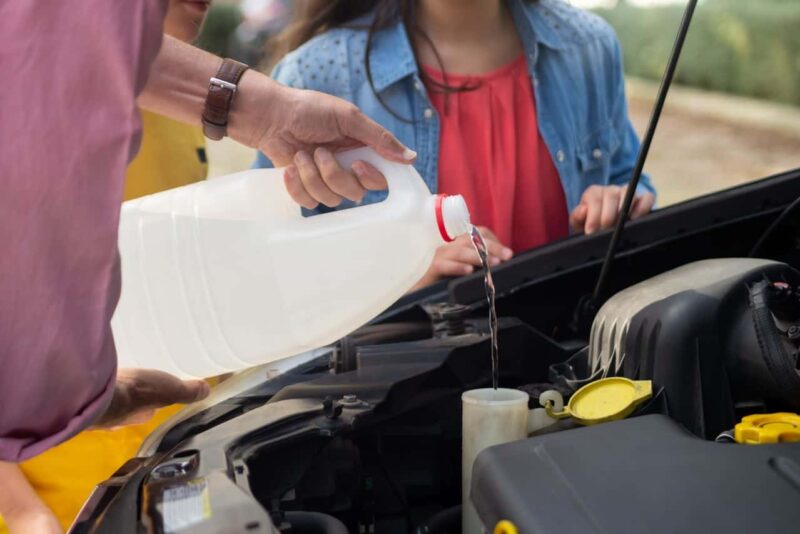
Your vehicle’s cooling system plays a vital role in preventing the engine from overheating. Coolant, also known as antifreeze, circulates through the engine and radiator to regulate temperature, prevent corrosion, and protect internal components. Over time, coolant breaks down and becomes contaminated with rust, debris, and mineral deposits. Learning how to flush coolant is an essential maintenance skill that can improve engine performance and extend the life of your cooling system.
A coolant flush removes old coolant, cleans the system, and replaces it with fresh coolant. This guide explains the complete process, helping you perform the job safely and effectively.
Why Flushing Coolant Is Important
Coolant does much more than prevent freezing during cold weather. It also transfers heat away from the engine, lubricates the water pump, and protects the radiator and engine passages from corrosion.
As coolant ages, its protective additives wear out. Old coolant can become acidic, allowing corrosion to develop inside the cooling system. A regular coolant flush helps maintain proper engine temperature and reduces the risk of expensive repairs caused by overheating.
Signs Your Coolant Needs Flushing
Several warning signs indicate it may be time to replace the coolant. Common symptoms include:
- Engine running hotter than normal
- Temperature gauge frequently rising
- Rust-colored or dirty coolant
- Sweet smell from the engine compartment
- Visible coolant leaks
- Heater not producing enough warm air
- Coolant older than the manufacturer’s recommended service interval
If you notice any of these issues, inspect the cooling system before serious damage occurs.
Tools and Materials You Will Need
Before starting, gather the following items:
- Manufacturer-approved coolant
- Distilled water
- Drain pan
- Funnel
- Socket or wrench set
- Protective gloves
- Safety glasses
- Shop towels
Always use the coolant type recommended by your vehicle manufacturer. Mixing different coolant formulations can reduce cooling performance and damage the system.
Safety Precautions
Never open the radiator cap while the engine is hot.
Hot coolant is under pressure and can cause severe burns if released suddenly. Allow the engine to cool completely before beginning the procedure.
Wear gloves and safety glasses to protect yourself from coolant exposure. Keep coolant away from children and pets because it is highly toxic if swallowed.
Dispose of used coolant responsibly through a recycling center or automotive repair facility.
Also Read: Best Credit Cards for Cashback
Step 1: Prepare the Vehicle
Park the vehicle on a level surface and engage the parking brake.
Allow the engine to cool completely before opening the hood.
Locate the radiator, coolant reservoir, and radiator drain valve according to your owner’s manual.
Position a large drain pan underneath the radiator to catch the old coolant.
Step 2: Drain the Old Coolant
Carefully remove the radiator cap after confirming the engine is completely cool.
Open the radiator drain valve, also called the petcock, or remove the lower radiator hose if necessary.
Allow all of the coolant to drain into the collection pan.
Once the coolant has drained completely, close the drain valve securely before moving to the next step.
Inspect the drained coolant for excessive rust, oil contamination, or debris, which may indicate additional cooling system problems.
Step 3: Flush the Cooling System
Fill the radiator with distilled water using a funnel.
Start the engine and allow it to idle with the heater set to its highest temperature. This opens the heater core and allows water to circulate throughout the entire cooling system.
Run the engine until it reaches normal operating temperature, then turn it off and allow it to cool completely.
Drain the water from the radiator again.
Repeat the flushing process until the water draining from the system appears clean and free of contaminants.
Some vehicles may require a commercial cooling system flush solution for heavy deposits. Follow the product instructions if using a cleaning solution.
Step 4: Add New Coolant
After the final flush, ensure the drain valve is fully closed.
Using a funnel, slowly fill the radiator with the recommended coolant mixture.
Many manufacturers recommend a 50/50 mixture of coolant and distilled water unless a pre-mixed coolant is used.
Fill the coolant reservoir to the indicated “Full” mark.
Take your time to reduce the amount of trapped air inside the system.
Step 5: Remove Air from the Cooling System
Air pockets can reduce cooling efficiency and cause overheating.
Start the engine with the radiator cap removed if recommended by your owner’s manual.
Allow the engine to reach operating temperature while monitoring the coolant level.
As trapped air escapes, the coolant level may drop. Add additional coolant as needed until the level stabilizes.
Once no more air bubbles appear, install the radiator cap securely.
Step 6: Check for Leaks
Inspect the radiator, hoses, drain valve, thermostat housing, and water pump for coolant leaks.
Allow the engine to idle for several minutes while watching the temperature gauge.
Verify that the engine reaches normal operating temperature without overheating.
After a short test drive, recheck the coolant level once the engine has cooled and add more coolant if necessary.
Maintenance Tips
Most manufacturers recommend replacing coolant every 30,000 to 100,000 miles depending on the coolant type and vehicle model.
Check coolant levels regularly and inspect hoses for cracks, swelling, or leaks.
Never use tap water when mixing coolant because minerals can create deposits inside the cooling system.
Keeping the radiator clean and maintaining the proper coolant level helps improve engine cooling performance.
Common Mistakes to Avoid
Avoid opening the radiator cap on a hot engine.
Never mix incompatible coolant types.
Do not overfill the coolant reservoir.
Failing to remove trapped air may result in overheating.
Ignoring coolant leaks can lead to severe engine damage and expensive repairs.
Following the manufacturer’s maintenance schedule helps keep the cooling system operating efficiently.
Conclusion
Learning how to flush coolant is an important maintenance skill that helps protect your engine from overheating, corrosion, and premature wear. Replacing old coolant with fresh coolant restores the cooling system’s ability to regulate engine temperature and extend the life of critical components.
By performing regular coolant flushes, using the correct coolant, and following proper safety procedures, you can maintain reliable engine performance and reduce the risk of costly cooling system repairs. Routine cooling system maintenance is a simple investment that helps keep your vehicle running smoothly for years to come.
